

DIY Guide: How to Change the Multi-Rib Belt in Your Kenmore Dryer
Is your Kenmore dryer belt in need of replacement? Don't worry, it's a relatively straightforward task that you can do yourself with just a few tools and some patience. If you are up for some appliance repairs, follow this step-by-step guide to learn how to change the multi-rib belt in your Kenmore dryer.
Tools You'll Need:
- Putty knife
- Phillips screwdriver
- 5/16-inch snap driver
- Start by pulling out the lens screen at the top of the dryer.
- Beneath the screen, you'll find two Phillips screws. Remove them.
- Locate the clips that hold the top cover down. There's one about an inch in from the right and another an inch in from the left.
- Use the putty knife to depress these clips. You may need to pull forward on the top while doing this.
- If you don't have a wall to lean the top against, fasten a cord through one of the two screw holes and suspend the top cover in an upright position.
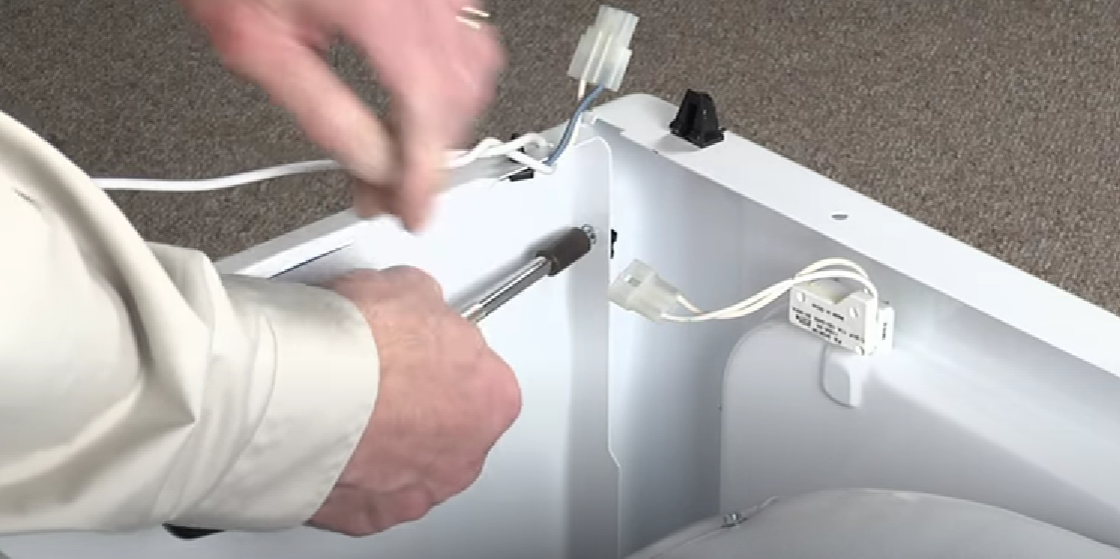
- With the top secured, your next step is to disconnect the wire harness to the switch. Separate the connector.
- Remove the two 5/16-inch screws from the front panel, being careful not to drop them inside.
- Support the front panel while removing the last screw.
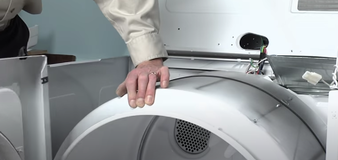
- Lift the front panel forward and up to remove it, then set it aside.
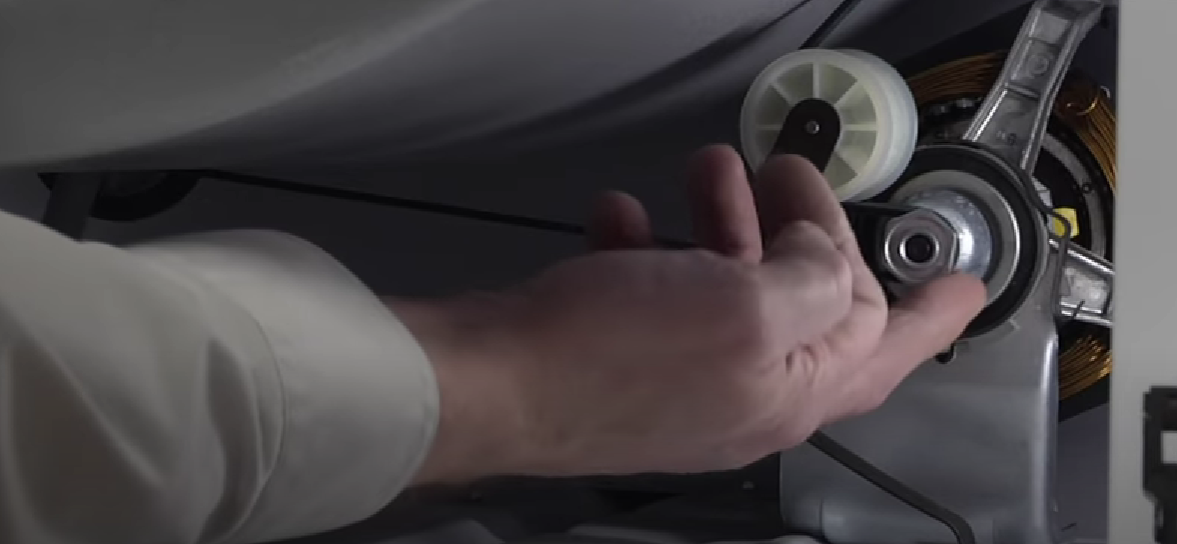
- Roll the belt off the idler while supporting the drum with one hand, reaching from the right side.
- Observe how the belt is oriented on the drum, motor pulley, and idler pulley because you'll need this information when reassembling.
- Slide the old belt off the drum.
- To install the new belt, wrap it around the drum, ensuring the ribbed side of the belt is against the drum.
- Position the belt so it's roughly in line with the motor pulley.
- Slide the belt over the top of the idler and through the opening.
- Apply a little tension to the idler to create tension on the belt.
- Thread the belt under the motor pulley.
- To align everything properly, rotate the drum for one full revolution.
- To reinstall the front panel, engage the slots on the front panel with the hooks on the cabinet flange (one on each side).
- Tilt back the drum while lifting the front panel until it slides over the hooks and drops into place.
- Ensure the bottom hooks are in place and line up the drum.
- Press the front panel back into position.
- Reinstall the two retaining screws on the front panel.
- Reconnect the wire harness to your door switch.
- Before putting the top down, make sure the felt is laying flat on the rear bulkhead.
- Gently place the top back down, making sure there are no wire harnesses that can get pinched.
- Align it over the retaining clips and press down on each corner.
- Secure the two screws that hold the lint filter in place.
- Finally, reconnect the power to your Kenmore dryer.
|
|